Heyy, gorgeous! Before I totally blow your mind with this, I just wanted to say…
OMGG, am I actually doing this!? I’m so excited to share something special with you today, and I need you to show up in your POWER!!!
Alright, let’s get to it
My name’s Tilly, wife to my college sweetheart, busy mom, and a borderline dork when it comes to all things DIY.
Today, I’m spilling my secret blueprint for crafting a stunning Easter tree that’ll leave you feeling pumped and ready to wow your family.

How cute are these ideas going to be, right? Let’s dive in, shall we?
Welcome to Easter Tree Magic That Screams Chic!
Easter Tree Vibes Are EVERYTHING
Picture this: Back when I was a kid, Easter was all about egg hunts and chocolate bunnies (who wouldn’t love that?).
But now, in 2025, it’s a whole new ballgame, and I’m kinda obsessed with getting you results that’ll make your home the talk of the season.
An Easter tree is the perfect way to bring out the chocolate and your go-to beverage, get creative, and add some effortless charm to your space—whether you’re a busy mom sneaking in some “me time,” an independent woman looking for a fun project, or a DIY enthusiast like me who’s been hooked on crafting since forever.
I got completely hooked on Easter trees a few years back when I saw one at a friend’s house
little did I know it’d become my new official jam!
They’re easy-peasy-lemon-squeezy to make, and boom—instant springtime charm.
Plus, making them is super easy, and I’ve kept every single one I’ve made over the years because… well, they’re just that adorable.
Ready for this? I’ll share 5 fab ways to craft your own, plus a free checklist to get you started (trust me, it’s gold!).
So, grab your supplies, and let’s go through it all in a step-by-step and cozy manner, shall we?
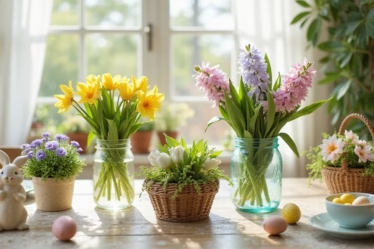
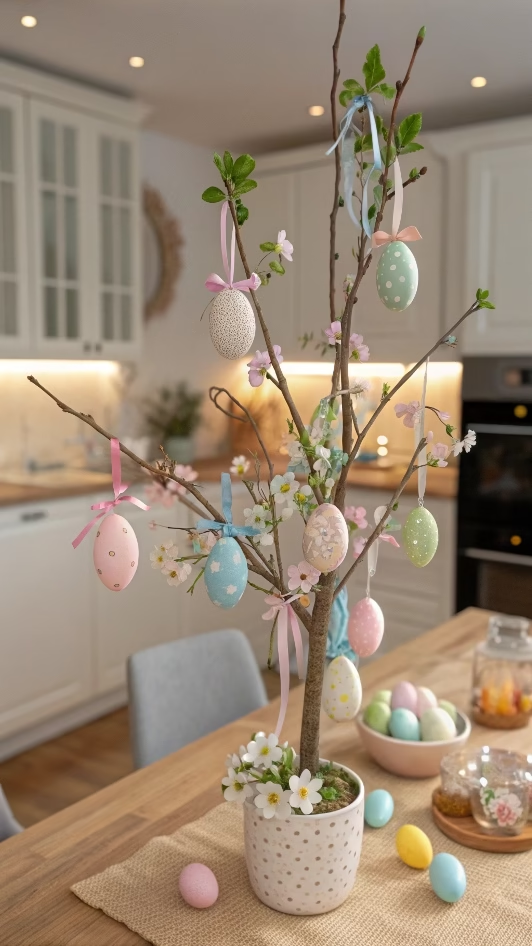
Step 1: Pick Your Perfect Base
First things first—to be able to create an Easter tree that’s you, you need a place to start.
I use and love a simple branch from my backyard (hey, I still use it and haven’t looked back!), but there are obvs tons to choose from
like a small potted plant, a vase with twigs, or even a mini faux tree from the craft store.
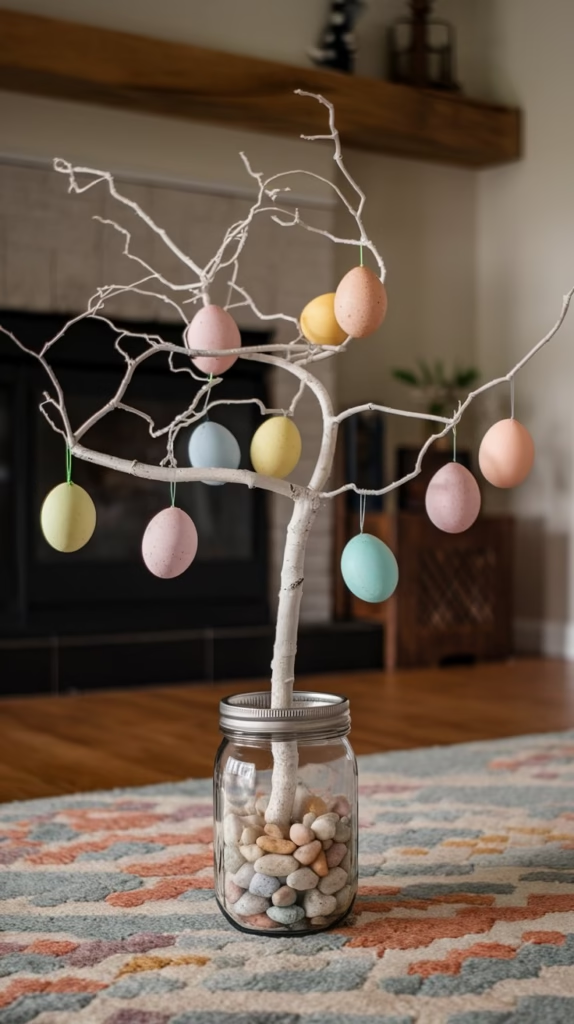
If you’re home with a toddler looking for a quick win, go for something sturdy that won’t topple over. Instead of just plopping it in a corner, why not make it reaaaaal simple and pop it in a cute mason jar filled with pebbles?
Holy moly me oh my—that’s instant chic right there!
Step 2: Gather Your Supplies (Yay! 🙂
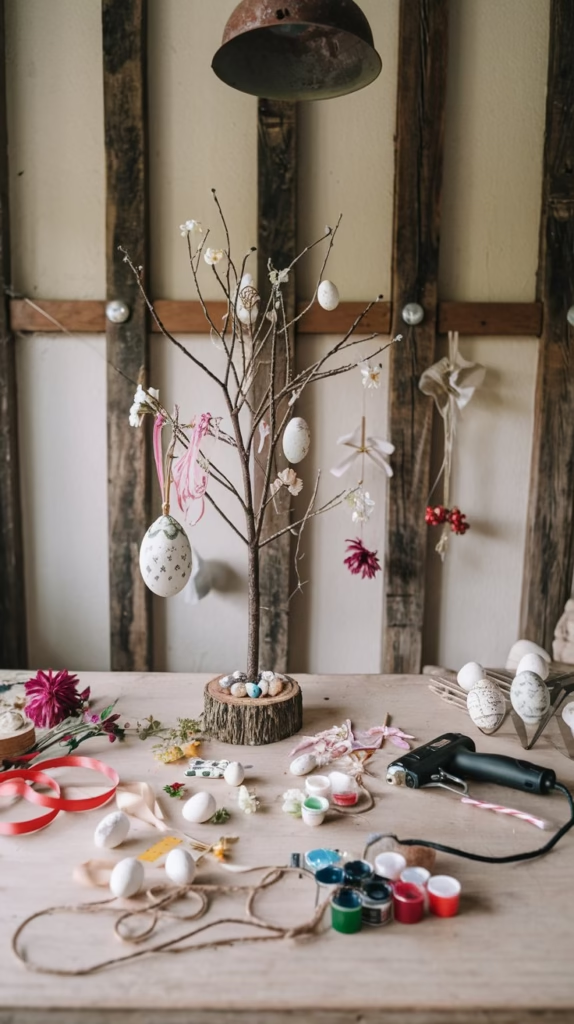
Bring out the glitter and glue, because this is where the fun begins! You’ll need:
- Twigs or a small tree base (duh!)
- Decorations like mini eggs, ribbons, or flowers
- Paint (pastels are my fave—think blush pink or mint green)
- Hot glue gun (because boy, I’d save a LOT of time with this bad boy!)
- String or twine for hanging goodies
I also warmly recommend hitting up your local dollar store—perfect for snagging affordable bits and bobs. My daughter would also lose her mind over the tiny bunny ornaments I found last year—they’re the perfect touch!
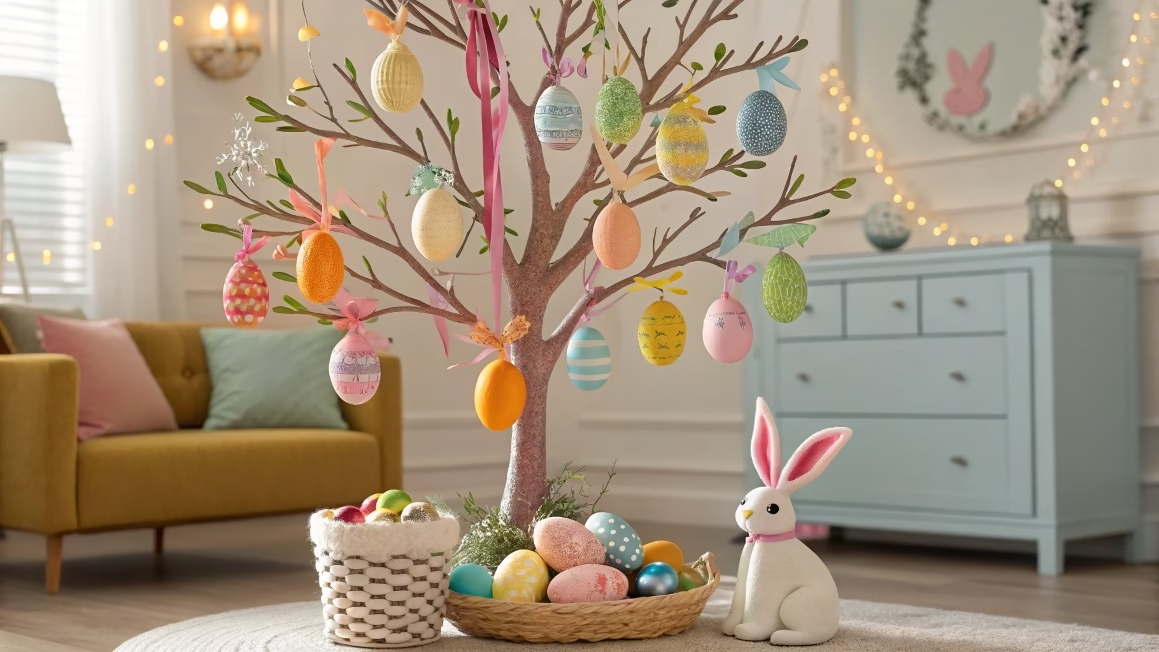
Step 3: Get Crafty with Decorations
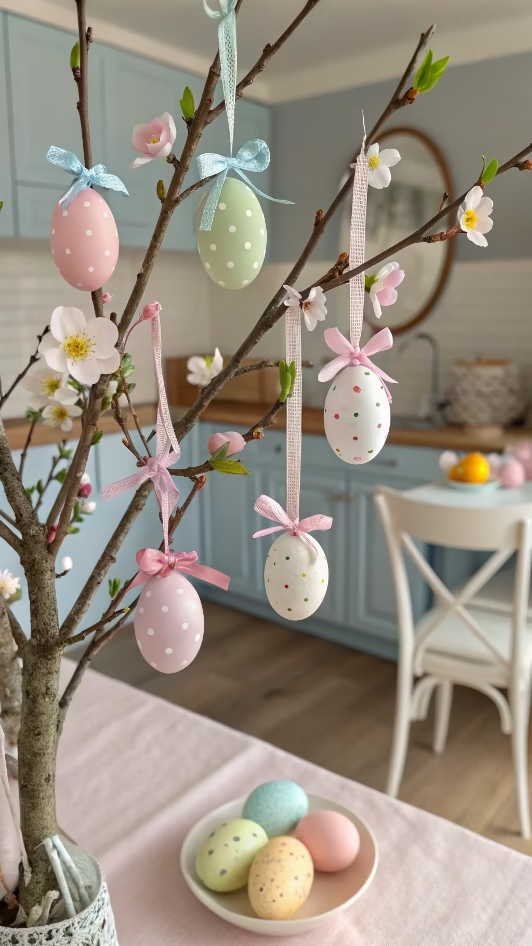
Okay, let’s just hit the pretend button for a split second and imagine your tree dripping with personality. Here’s where I got obsessed: painting my branches in soft hues and adding little hanging eggs made right at my kitchen table while soaking up those cozy Sunday vibes.
You can use it with your kids for a family project or keep it all to yourself (no judgment here!).
Try these ideas:
- Egg-cellent Charm: Paint plastic eggs and string ‘em up—boom, instant cuteness.
- Ribbon Magic: Tie pastel ribbons in tiny bows. Isn’t this just screaming chic?
- Floral Flair: Glue on faux flowers for that springtime glow.
AND WE LOVE AN ORGANIZED LIST, DON’T WE? Loving these options—they’re simple yet totally stunning.
Step 4: Make It Yours
Here’s where I might get hate for saying this… a plain Easter tree doesn’t guarantee anything. People don’t need another boring craft—they need your sparkle!
I loved every minute of adding personal touches to mine, like little notes with my kids’ names or a tiny photo ornament of our family Easter pic from years back.
There was something so calming about seeing it come together.
If you’re into bold vibes, splash on some metallics or glitter—because hello, that’s a little bit crazy and insane but also SO YOU.
Step 5: Show It Off (and Snag Your Freebie!)
Congrats! You’ve gained your first stunning Easter tree, and this is only the beginning, lovely.
Pop it on your dining table, mantel, or even your front porch (if you’re feeling extra!).
I hope you found some inspo coming your way—let me know if you want another variation! 😊 And because I’m not holding back anything, I’ve got a free Easter Tree Checklist waiting for you—just a little workbook to keep you on track.
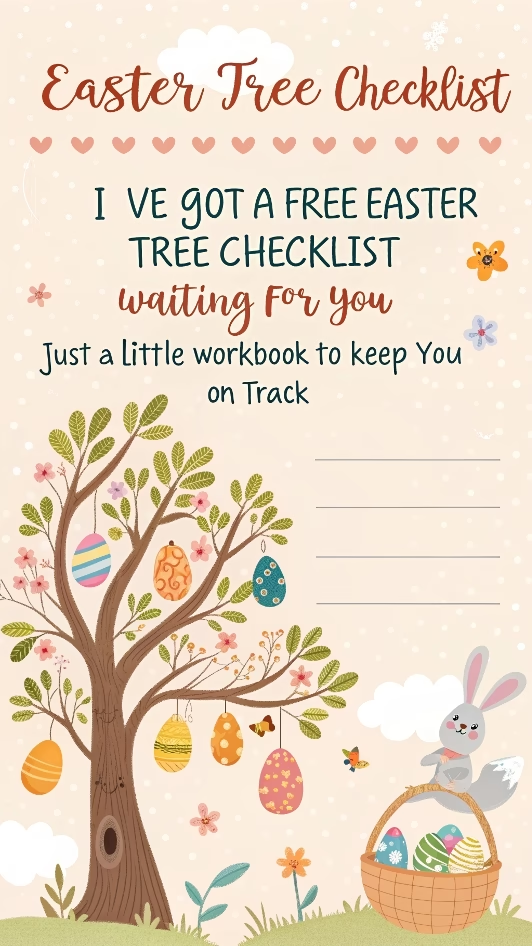
Enter, the tech—don’t worry, you’re all signed up once you grab it [insert link placeholder]!
Why You’ll Be Obsessed Too
Honestly, sometimes I wish I could turn back time and follow this sooner
I would’ve saved myself so many craft flops! But 97% fail to understand this: the KEYWORD BEING VALUE.
It’s not just about making something pretty; it’s about that warm and fuzzy relationship you build with your space and your loved ones.
My daughter still talks about “Mommy’s Easter tree” from last year—awww, right?
So get excited! 🙂 Your stunning Easter tree should now be your new official jam—all day err day.
You’ll find me in your corner, always (not in a creepy way, of course, but totally cheering you on).
DON’T BE SURPRISED WHEN THIS COMES TRUE: You’re going to be living your dream DIY life in a few short months with projects like this. It’s written already! ✨
What do you think, gorgeous?
Drop a “Yikes!” or “Yay!” below—I MEAN IF I CAN DO THIS, I’LL TAKE IT! Can’t wait to hear how yours turns out!