This Blog post is about DIY Birthday Cards
Hey there, crafty friends! Can we just talk about how ridiculously expensive greeting cards have gotten lately? I swear I nearly fainted in the card aisle last week when I saw a basic birthday card for $7.99! Like, seriously?! That’s practically a week’s worth of coffee money for me!
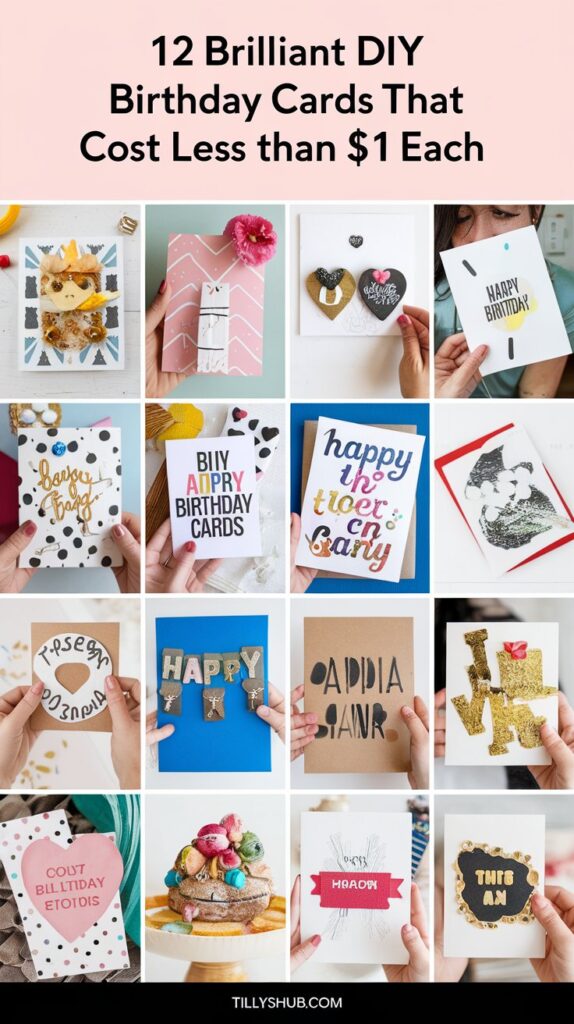
That’s when I had my little “aha” moment while staring at my overflowing craft drawer at home. Why am I shelling out for store-bought cards when I can make something WAY more meaningful (and budget-friendly) myself? So I went on a bit of a DIY card-making spree, and let me tell you – I’ve discovered some absolute gems that cost less than a dollar each to make!
Grab your coffee (or tea, no judgment here!), and let’s chat about these super affordable DIY birthday cards that look like you spent a fortune on them. I promise these are all beginner-friendly – if I can do it while binge-watching my favorite show, you totally can too!
1. Washi Tape Wonder Cards
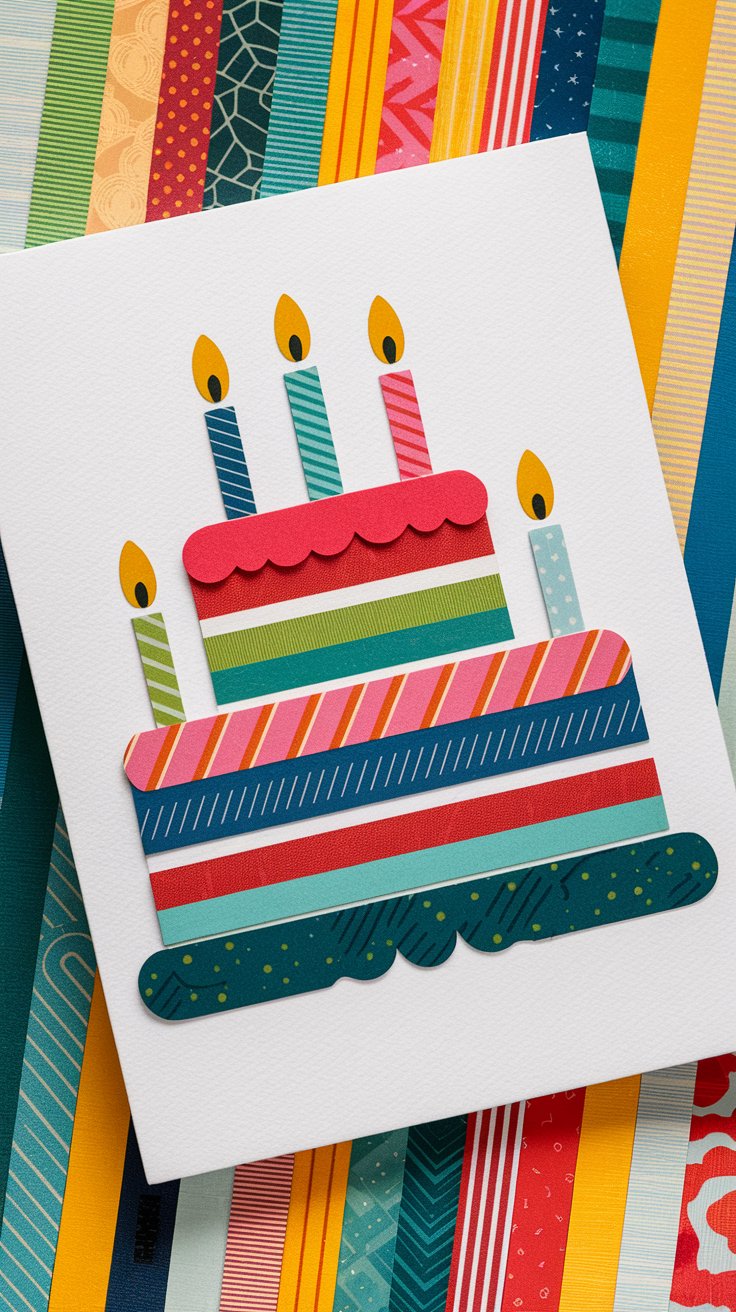
Picture this: A crisp white card base adorned with colorful strips of washi tape arranged in a festive birthday cake shape, complete with tiny paper candles on top. The bright patterns pop against the clean background, creating a card that looks store-bought but costs pennies to make!
Here’s how I make these cuties:
- Fold a piece of white cardstock in half to create your card base
- Cut strips of washi tape in descending lengths
- Arrange them in a cake shape (I usually do 3-5 layers)
- Add small paper strips as candles at the top
- Draw tiny flames with a yellow marker
- Write your message inside!
I keep a stash of washi tape from the dollar store (they usually have 2-3 rolls for $1), making each card cost about 30 cents. My niece actually thought I bought her washi tape card last year – until she opened it and saw my handwriting! That little “wow” moment was worth every penny.
2. Confetti Pocket Cards
Picture this: A transparent pocket filled with colorful confetti attached to the front of a simple card. When the recipient holds it up, the confetti dances around, creating a mini celebration right in their hands! The pocket catches the light, making the whole card sparkle with birthday magic.
Let me show you how:
- Cut a rectangle from a clear plastic bag or page protector
- Fold your cardstock in half for the base
- Seal three sides of the plastic with tape to create a pocket
- Fill with confetti (I use hole-punched colorful paper scraps)
- Seal the final edge
- Attach to your card front with double-sided tape
- Add a “Shake me!” message above it
I made these for my book club friends last month using scraps from my paper recycling bin and a page protector I was about to toss. Total cost? Maybe 25 cents each! Everyone loved how interactive they were – my friend Sarah still has hers displayed on her desk!
3. Teabag Greeting Cards
Picture this: A simple kraft card with a real tea bag attached using colorful twine. A handwritten message says “It’s your birthday! Let’s par-TEA!” The rustic charm combined with the practical gift makes it both beautiful and useful – perfect for tea lovers!
Here’s my method:
- Fold kraft paper (or a brown paper bag) for your card base
- Punch two small holes at the top of the card
- Thread colorful string or twine through the holes
- Attach an individually wrapped tea bag with the string
- Add a tea-related birthday pun (I have so many!)
- Decorate with simple doodles of mugs or teapots
I stock up on tea when it’s on sale and keep individual bags for these cards. Including paper costs, each card runs about 40 cents. My mother-in-law absolutely loves these – she says it’s like getting two gifts in one! And honestly, who doesn’t appreciate a good cup of tea?
4. Fabric Scrap Cards
Picture this: A textured birthday card featuring a small square of patterned fabric centered on the front, perhaps cut in the shape of a gift box or birthday present. The fabric adds dimension and a premium feel that you just can’t get with paper alone, elevating a simple card into something special.
Let me walk you through it:
- Cut a small square or shape from fabric scraps
- Apply a thin layer of craft glue to your card front
- Smooth the fabric over the glue
- Once dry, add ribbon scraps for “present” details
- Use a marker to draw a simple bow on top
- Write “Happy Birthday” below the fabric square
I started making these after my failed attempt at quilting (we don’t talk about that disaster!). Using up fabric scraps means these cards cost about 20 cents each. My sister-in-law thought I bought her card at one of those fancy boutique shops – if only she knew I made it while still in my pajamas at 10 AM!
5. Button Balloon Cards
Picture this: A cheerful card featuring a cluster of “balloons” made from colorful buttons of various sizes, connected with hand-drawn strings to the bottom of the card. The dimensional quality of the buttons adds playfulness and texture that makes the recipient want to run their fingers over the surface.
Here’s how to create this tactile delight:
- Gather buttons in various colors and sizes
- Arrange them in a balloon cluster formation on your card
- Glue each button securely
- Once dry, draw strings connecting each button to the bottom of the card
- Add a small bow where the strings meet
- Write “Hope your birthday is as bright as these balloons!”
I have a confession: I’m a button hoarder. I save them from old clothes, snag them when they’re on clearance, and somehow still have WAY too many. Each of these cards costs about 15 cents (since I already have the buttons). My friend’s daughter loved hers so much she asked if she could take the buttons off to play with – now I include a few extra buttons inside as a little bonus gift!
6. Book Page Birthday Candles
Picture this: A card featuring birthday candles cut from yellowed vintage book pages, with small colored pencil flames dancing on top. The text from the book is still visible on the candles, adding an literary element that looks sophisticated and thoughtful. Perfect for the bookworm in your life!
Let me show you my process:
- Cut candle shapes from old book pages (I use damaged books from thrift stores)
- Arrange on a contrasting cardstock base
- Glue them down in a row
- Color small flames at the top of each candle
- Add “Happy Birthday” text below the candles
- Write a book quote or personalized message inside
I found a damaged poetry book at a yard sale for 25 cents that I’ve been using for these cards for months! Each card costs about 10 cents to make. My book club friends went absolutely crazy for these – especially when I matched the visible text to their favorite genres!
7. Fingerprint Balloons
Picture this: A white card decorated with a bouquet of colorful “balloons” made entirely of fingerprints in various colors of ink. Each balloon has a tiny hand-drawn string leading down to a message that says “Hands down, it’s your birthday!” The personal touch makes it unique and impossible to replicate.
Here’s my simple method:
- Grab some colorful stamp pads (or markers to dab on your finger)
- Press fingerprints onto the card in balloon-like clusters
- Let the ink dry completely
- Use a fine black pen to draw strings from each fingerprint
- Add a small bow at the bottom where strings meet
- Write your birthday message beneath
I invested in a set of mini ink pads years ago (best $3 ever spent!), making these cards cost about 15 cents each. My 5-year-old nephew and I made these together for his mom, and he was so proud to show her his “finger art.” His little fingerprints alongside mine made it extra special!
8. Paper Strip Word Cards
Picture this: A card featuring the word “HAPPY” or “CELEBRATE” created entirely from thin, colorful paper strips arranged to form each letter. The strips overlap slightly and create a dimensional effect that catches the light from different angles. It’s geometric, modern, and totally eye-catching!
Here’s how I make these statement cards:
- Cut thin strips from colored paper scraps or magazine pages
- Sketch your word lightly in pencil on the card front
- Arrange and glue the strips to form each letter
- Overlap the edges slightly for dimension
- Once dry, erase any visible pencil marks
- Add a simple “birthday” message below in pen
I use paper from old magazines and catalogs headed for recycling, so these cards cost practically nothing – maybe 5 cents each! I made one for my mom’s birthday last year, and she called me specifically to say it was “too pretty to throw away” – it’s still on her fridge!
9. Stamped Cards (Without Stamps!)
Picture this: A card covered in perfect little shapes – stars, hearts, or flowers – that look professionally stamped but are actually created with everyday household objects. The clean, repeating patterns form shapes like a birthday cake or gift box, combining simplicity with clever crafting.
Here’s my secret technique:
- Find objects with interesting ends – pencil erasers, bottle caps, wine corks
- Dip the end in craft paint or press onto an ink pad
- Stamp patterns onto your card in shapes like a cake or presents
- Let dry completely
- Add details with a fine pen
- Write your birthday message
I once made an entire set of these using just the eraser end of a pencil and the bottom of a Lego – total cost was about 10 cents per card! My colleague thought I’d bought a fancy stamp set until I showed her how I made them with things from my junk drawer. The look on her face was priceless!
10. Watercolor Splash Cards
Picture this: A simple white card with a beautiful watercolor splash of color in birthday-cake shape, created with the most basic watercolor technique. The colors blend seamlessly, creating an artistic effect that looks professional but requires zero actual painting skills. The watercolor effect gives it that expensive, handmade look.
Let me walk you through my fool-proof method:
- Fold white cardstock for your base
- Draw a cake shape very lightly in pencil
- Wet the cake area with a clean brush and water
- Touch the wet area with the corner of a watercolor marker
- Watch the color spread magically!
- Add more colors while still wet for blending
- Once dry, add details with a fine black pen
I use the same washable markers my kids have for school, making these cards cost about 20 cents each. I’m absolutely terrible at painting, but these watercolor cards make me look like an artist! My best friend actually framed hers because she thought it was “too pretty to put away.”
11. Upcycled Gift Wrap Cards
Picture this: A card featuring a perfectly cut decorative element from used gift wrap – perhaps a character, pattern, or motif – elevated to become the star of a new birthday card. The recycled element is centered on clean cardstock with a simple greeting, giving new life to something that would have been thrown away.
Here’s my upcycling approach:
- Save decorative elements from gift wrap after unwrapping presents
- Carefully cut out intact designs or patterns
- Mount on contrasting cardstock with craft glue
- Add borders with markers if needed
- Write your birthday message by hand
- Add a small “upcycled with love” note on the back
This costs literally nothing since I’m using materials headed for the recycling bin! After Christmas last year, I made an entire set of birthday cards for the coming year using the cute patterns from gift wrap. My eco-conscious sister was thrilled when she realized her card used to be the wrapping paper from her Christmas gift!
12. Minimalist String Art Cards
Picture this: A clean white card with a simple birthday cake or balloon created entirely from thread or embroidery floss. The string is threaded through small punched holes to create a striking geometric design that has dimension and texture. The minimal color palette makes it look modern and expensive.
Here’s my string art method:
- Fold cardstock for your base
- Draw a simple design (cake, balloon, present) in pencil
- Use a pushpin to create small holes along the lines
- Thread embroidery floss or string through the holes
- Secure ends with tape on the inside of the card
- Add a simple handwritten greeting
I picked up a pack of embroidery floss at a yard sale for 50 cents, making these cards cost about 10 cents each. My grandfather, who appreciates handmade things, told me his string art card was “real craftsmanship” – which might be the highest compliment he’s ever given me!
So there you have it, my crafty friends – 12 amazing DIY birthday cards that cost less than your morning coffee! I keep basic supplies on hand (cardstock, glue sticks, and markers) and then raid my recycling bin, junk drawer, and craft scraps for the rest.
The best part? These cards always get the “wow, you MADE this?!” reaction. There’s something so special about giving a handmade card – it shows you cared enough to spend time creating something just for them.
Save this for later and never get caught in the expensive card aisle again! And I’d absolutely LOVE to hear which one you try first – drop me a comment below with your crafty creations or tag me on social media!
Happy crafting!