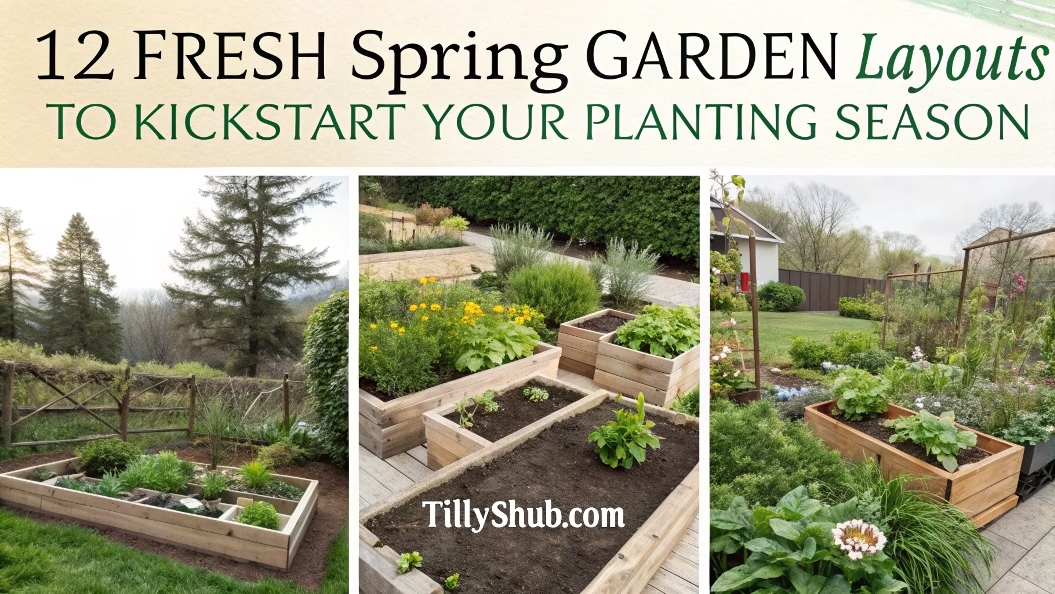
This Blog post is about Spring Garden Layouts

Picture this: A crisp spring morning, coffee in hand, surveying a backyard that looks more like a potential masterpiece than a random patch of dirt.
That was me last year, realizing garden layouts are the secret sauce to turning outdoor spaces from “meh” to magnificent.
The Garden Layout Game-Changer: Your Step-by-Step Guide
1. The Beginner’s Raised Bed Approach

Picture this: A neat trio of raised garden beds, looking like edible art in your backyard.
Step-by-Step:
- Choose 3-4 raised beds (4×4 feet is perfect)
- Fill with high-quality garden soil
- Mark out sections for different plants
- Add a simple drip irrigation system
- Plant in organized rows or square foot grid
Pro Tip: Use untreated cedar wood for beds that last years and look gorgeous!
2. The Compact Balcony Garden
Picture this: Every inch of your balcony transformed into a green paradise, no matter how small.
Step-by-Step:
- Measure your balcony space
- Install wall-mounted vertical planters
- Add hanging baskets on railings
- Use stackable container systems
- Mix herbs, compact veggies, and trailing flowers
Hack: Choose lightweight containers with built-in water reservoirs to make watering a breeze.
3. The Family-Friendly Edible Landscape

Picture this: A garden where beauty meets function, and kids can’t wait to pick their own snacks.
Step-by-Step:
- Create colorful borders with rainbow chard
- Plant purple kale as decorative centerpieces
- Add cherry tomato plants near seating areas
- Incorporate kid-friendly, easy-to-grow plants
- Add stepping stones for easy access
Fun Idea: Let kids decorate plant markers with their own designs!
4. The Low-Maintenance Native Garden

Picture this: A gorgeous garden that practically takes care of itself.
Step-by-Step:
- Research local native plants
- Map out sunny and shady areas
- Group plants with similar water needs
- Add a thick layer of mulch
- Create meandering paths between plant clusters
Water-Saving Tip: Native plants need 70% less water than traditional garden plants!
5. The Themed Herb Garden

Picture this: A circular garden that looks like a living spice wheel.
Step-by-Step:
- Create a circular design with 4-6 sections
- Divide into culinary, tea, and medicinal herbs
- Add a central focal point (small fountain or statue)
- Use stones or bricks to define sections
- Plant taller herbs in the center, smaller ones outside
Bonus: Hang dried herb bundles near your garden for instant kitchen decor!
6. The Pollinator Paradise

Picture this: A buzzing, vibrant garden that supports local ecosystems.
Step-by-Step:
- Choose native flowering plants
- Create clusters of similar plants
- Add a small water source
- Avoid chemical pesticides
- Include plants that bloom at different times
Bee-utiful Trick: Plant lavender and sunflowers to attract maximum pollinators!
7. The Shade Garden Solution
Picture this: A lush, green retreat in those forgotten shady corners.
Step-by-Step:
- Assess shade levels (partial vs. full)
- Choose shade-loving plants
- Add texture with different leaf shapes
- Incorporate moss and ground covers
- Create a seating area to enjoy the cool space
Lighting Tip: Use solar-powered garden lights to create magic after dark.
8. The Container Garden Approach
Picture this: A flexible garden that moves and changes with your lifestyle.
Step-by-Step:
- Select containers of varying sizes
- Use lightweight, mobile planters
- Group plants with similar needs
- Create height variation with plant stands
- Add wheels to larger containers for easy moving
Space-Saving Hack: Use a tiered plant stand to maximize vertical space!
9. The Vegetable Patch Makeover
Picture this: An organized veggie garden that looks like a professional farm.
Step-by-Step:
- Divide garden into plant family sections
- Create clear walking paths
- Use companion planting techniques
- Install simple trellises for climbing plants
- Plan crop rotation for next season
Yield Booster: Interplant marigolds to naturally repel garden pests!
10. The Water-Wise Garden
Picture this: A stunning garden that thrives with minimal water.
Step-by-Step:
- Choose drought-resistant plants
- Install drip irrigation system
- Add thick mulch layer
- Create rock or gravel features
- Group plants by water needs
Water-Saving Genius: Collect rainwater in decorative barrels!
11. The Small-Space Intensive Garden
Picture this: A tiny space producing an abundance of fresh produce.
Step-by-Step:
- Divide area into 1-foot squares
- Plan dense, strategic planting
- Use vertical gardening techniques
- Choose compact plant varieties
- Rotate crops seasonally
Tiny Space Tip: Use wall-mounted planters to grow up, not out!
12. The Three-Season Garden
Picture this: A garden that looks stunning from early spring to late fall.
Step-by-Step:
- Map out bloom times
- Choose plants with staggered flowering
- Include early bulbs, summer perennials
- Add fall-blooming plants
- Consider winter-interest plants
Seasonal Wow Factor: Add ornamental grasses for winter texture!
Bonus: Free Garden Planning Toolkit Grab my Complete Garden Layout Planner – your roadmap to garden greatness!
Which layout is calling your name? Drop a comment and let’s grow something amazing together!
Happy Planting, Tilly